Over the last few months I have been working on some Far Away Land figurines. I thought now would be a good time to post about the toys and the process I have been using to make them. It’s a fairly simple process but it did take a while to learn everything and each figure takes substantial planning and design.
Let’s get started… (side note – the pictures do not do these figures justice… I will upload decent photos when I get around to it.)
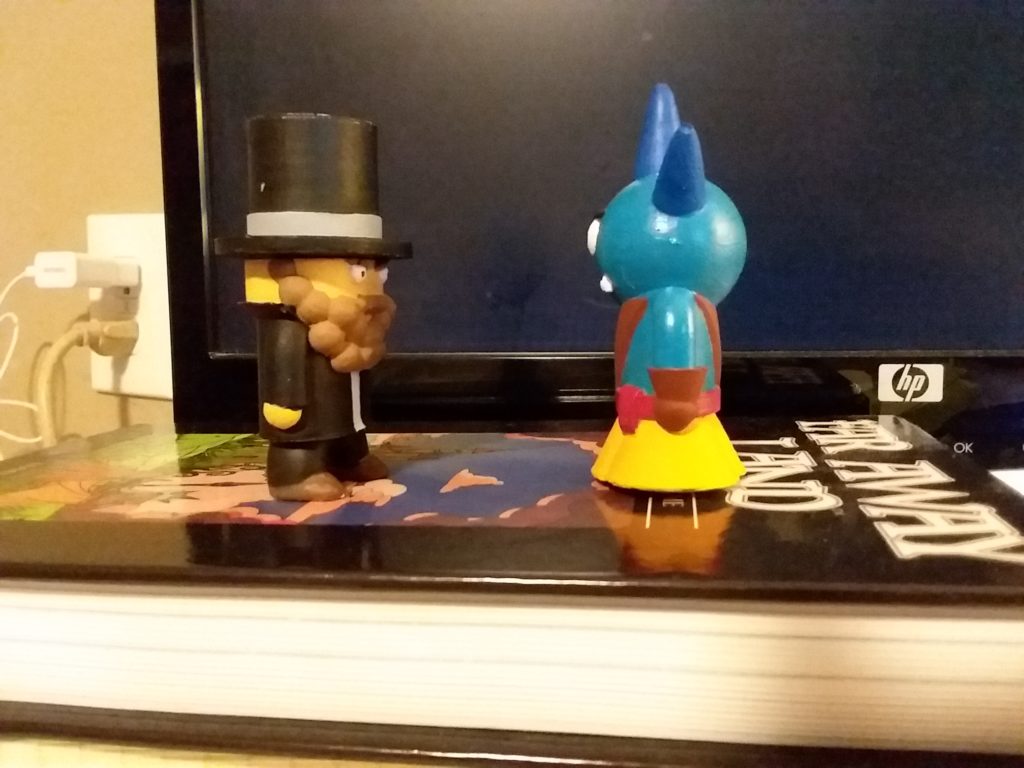
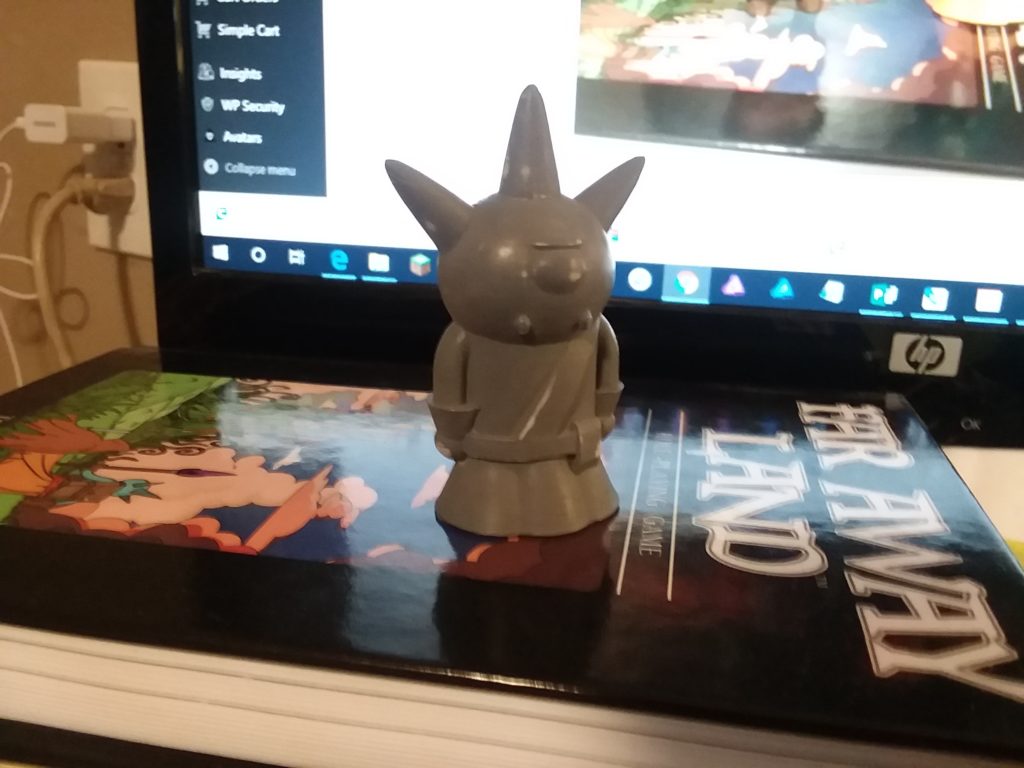
So, here are the two figures I have already completed. An orka and a noknil. I decided I wanted to have substantial detail in the heads and bodies and less emphasis and the legs.


So, the first thing I do is design the figure in 3d. I use Tinkercad because it’s easy and free and keeps all of my work online so I can access it from anywhere. I generally have to produce multiple versions of each figure to see what works. In fact, I think I did seven different designs for the noknil and five or six for the orka. Tinkercad works good for the level of detail I am going for in this figures. I wanted them to be representative of FAL characters and not overly detailed. I think, if I were to do figures of a higher level of detail, I might consider using another piece of design software.
After I have the design where I want it, I output it as an .stl file and send it to my 3d printer. I use a Flash Forge Creator Pro. I’m still learning 3d printing but for these figures I feel like I am getting good results.
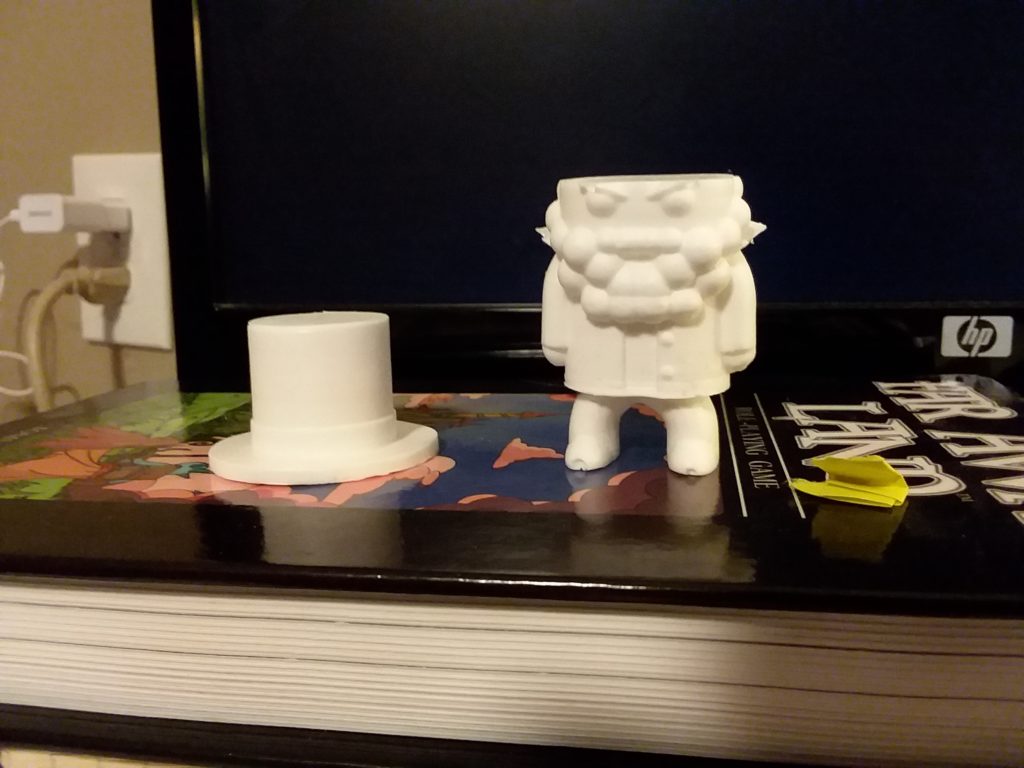
After I print the pieces I sand the print to make it smooth. This is a time consuming process that requires multiple coats of sandable primer and various grit sandpaper. The goal is to get the model completely smooth so there are no print lines. I want these to look like sculptures as opposed to 3d printed objects. While this technique is time consuming, I have found that it works and the results are impressive. The finished versions of these are smooth and clean. The picture above shows the finished master copies with primer.
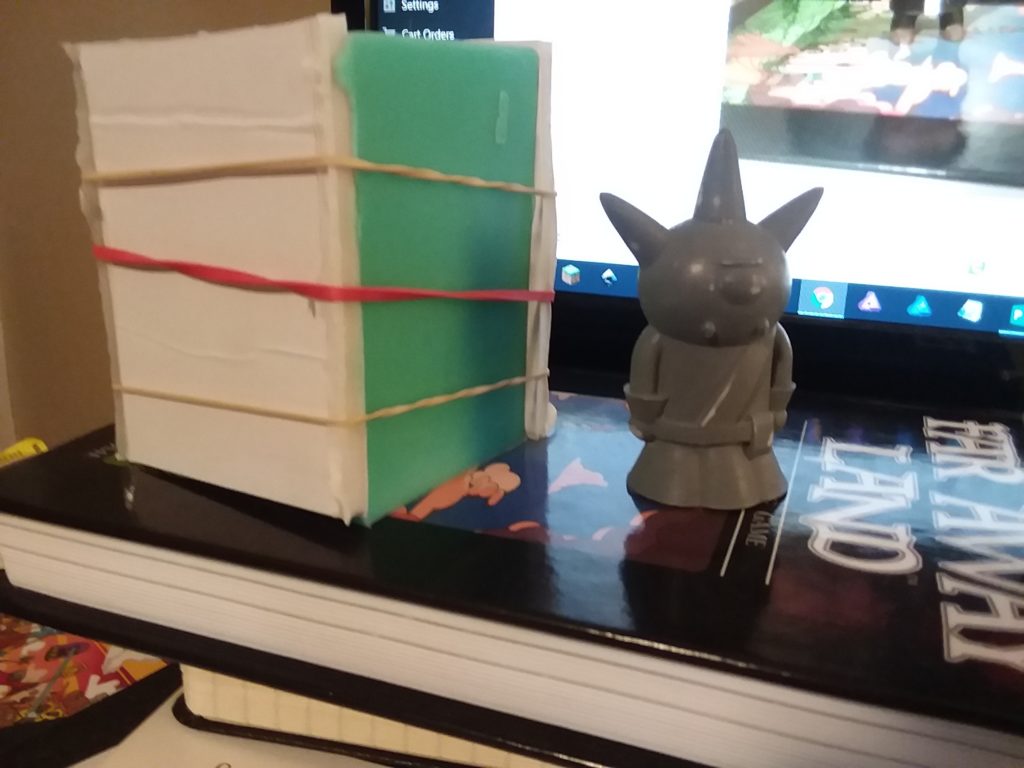
Once the master copy is finished it’s time to make a mold. I use a silicon mold making material. I glue the model to a piece of foamcore and build a foam core box around it. I use hot glue to put everything together. I make sure all of the cracks are filled with glue. Once that’s done, I pour in the silicone material and let it setup. Once that has been completed, I remove the figure from the mold and I am left with an empty cavity.
After the mold is complete, I can make as many copies as I want. I use a two-part white resin that does a nice job. It cures fast and the results have been great. Once the resin figure is completed, I prime it in gray spray primer and then I use acrylics to paint the figures.
I plan to make boxes for these figures using my die press and make the figures available in the faruniverse store.
So, this project started late last year and I have been working on it in pieces here and there when time permits. It has been a great way to learn 3d printing and finishing, mold making and casting, and it has allowed me to make some figures of some characters I created. I cam into this project knowing nothing about 3d printing or casting or any of that. But, I’ve learned a lot. I have really enjoyed this whole process as it has allowed me to explore design in a new way.
If you read this far, thanks. I hope you found this helpful.